This is Part 3 in our battle with cold in our lounge. You can read Part 1 & Part 2 for the story so far.
As I sit down to write this, I’m a little surprised that it’s been nearly four years since my last report on the battle with the “French Doors”. During that time we have addressed our key issues and learnt a lot! We ended Part 2 waiting for the builder to help….
Working With The Builder
An appeal to the housebuilder to put more technical help into identifying the cause of our discomfort met with success. There was agreement to get specialist input in the form of a building consultant to do a thermographic survey. Understandably the consultant wanted to wait for cooler winter temperatures and a survey was pencilled in for December 2016. In the meantime some basic temperature logging was undertaken, with ten sensors put in place during April 2016 for a few weeks. This was of limited value, as the external air temperature rarely fell below 5C and all the rooms were pleasantly warm, helped by the excellent solar gain characteristics of the house. However, it did demonstrate the willingness of the builder to help and indicated areas of the house, such as the corner of the lounge, that tracked the external air temperature more than they should have done. The consultants also felt the lounge radiator could be more suitably positioned, ideally on an external wall next to the French doors.
Insulating The Bedroom Ceiling
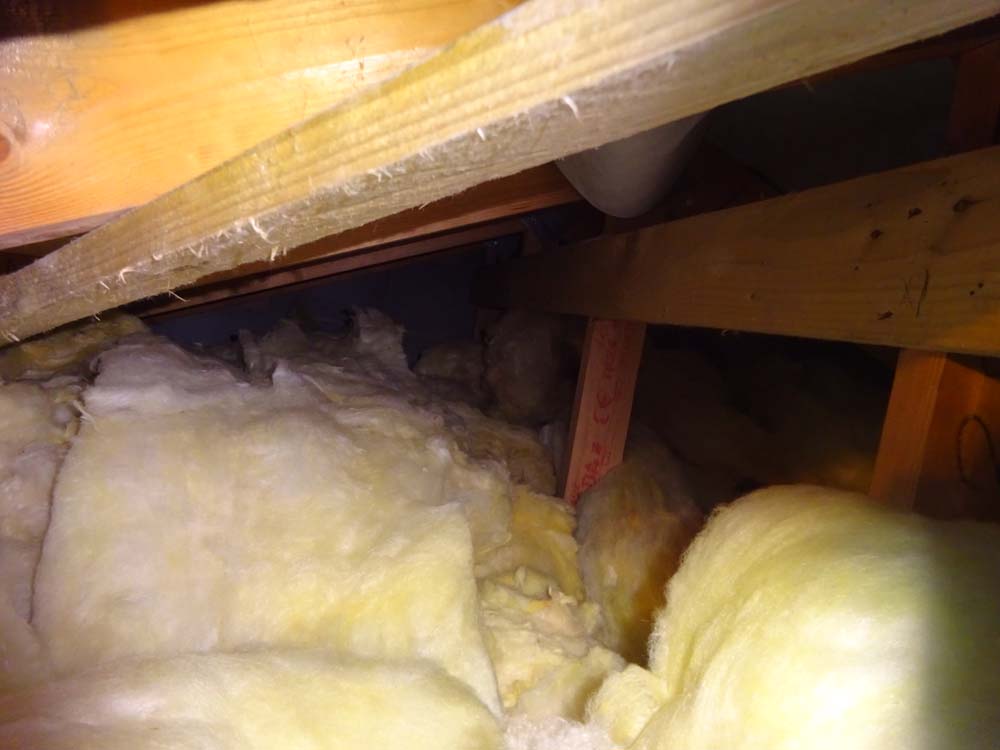
During April, the builder also insulated the study (bedroom) ceiling and this stopped the flow of cold air coming out from the MVHR system.
Thermal images of the MVHR outlet shows the difference it made. A spot surface temperature of 13.8C was measured before the insulation and this rose to 20.1C with the insulation in place. Those insulating the loft did have access challenges, as the unusual shaped roof is ideal for solar generation but does create difficult working conditions with some very tight spaces.
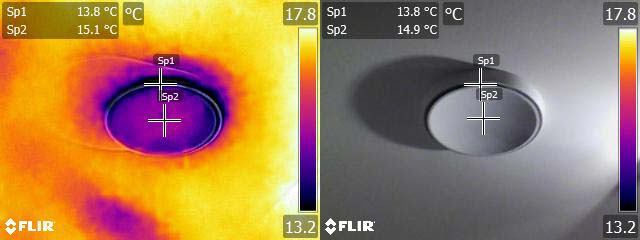
Spot temperature 13.8C
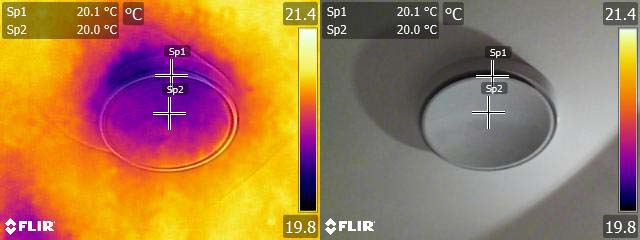
Spot temperature 20.1C
Winter Thermographic Survey & Pressure Testing
In December 2016, with the central heating season in full swing, a detailed analysis of the house was undertaken. A cool, overcast and dry day with little wind is considered best for an external thermographic survey. The Infra Red photography confirmed that wall insulation had been installed consistently and without significant gap. It was good to learn the builders had done a good job here.
Internal IR photographs were taken and then equipment brought in to do a pressure test.
The pressure test involved installing a frame built to hold both fabric and a fan within the opening for the front door. The fan was then run to create a 50 Pa (pascals) pressure difference between inside and outside the house. By measuring the speed of the fan and using the area of the building envelope the air leakage can be calculated. The photos below show the fabric bulging in the frame as the house is pressurised.
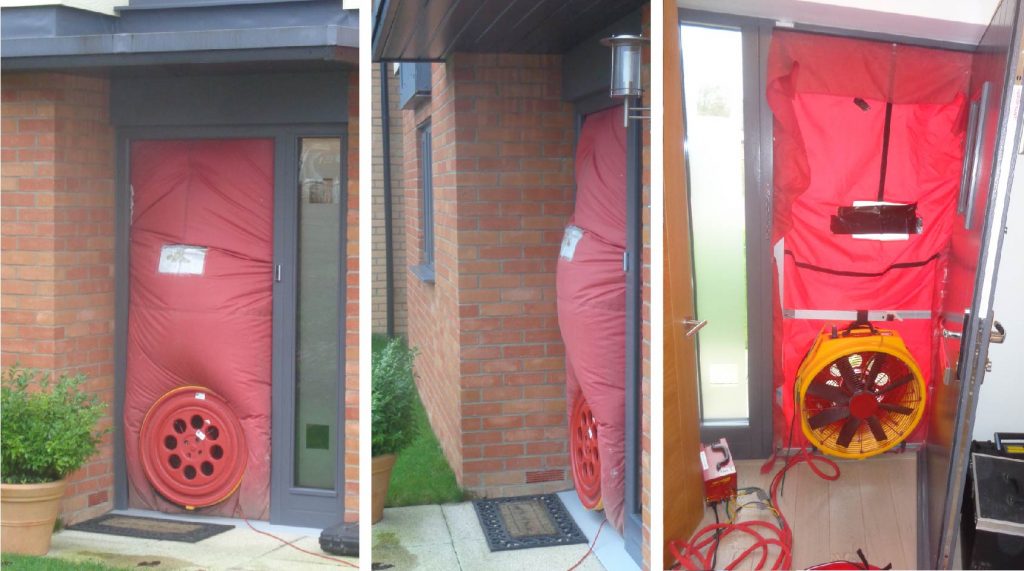
The fan pressurises the house to 50 Pa above atmospheric pressure
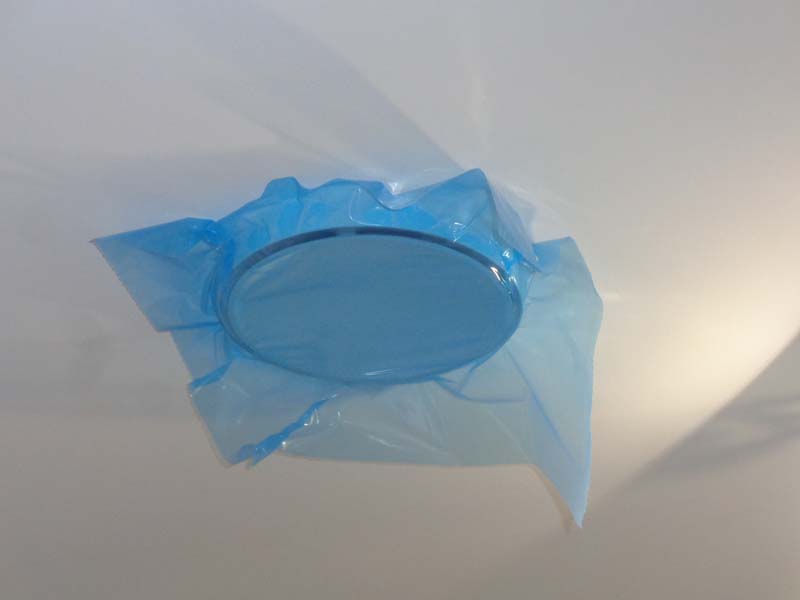
As part of the test, all the MVHR vents were sealed with blue film to exclude them from any air leakage calculations.
The air permeability of the house came out at 6.6 m3/hr/m2. This compares with the original test when the house was built of around 3 m3/hr/m2. Current building regulations require a figure of no greater than 10 m3/hr/m2.
It was no surprise that the air permeability of the house had degraded in the two years we had lived in it. Frequent use of doors and windows means that their seals are likely to wear a little and slight cracks will appear in sealants round their frames. Also, a number of additional lighting fixtures in the upstairs ceiling had been installed, which inevitably will have increased air permeability.
Ideally houses should be built to maintain lower layers of air permeability for longer but this was a slightly academic debate when considering the specific problem in hand. Current building regulations only require an air leakage test at completion and only on a small percentage of houses built to the same design.
The rigorous PassivHaus standard, which places a much greater emphasis on airtightness, uses a different test regime and measures Air Changes per Hour at 50 Pa (ACH) with a maximum permitted of 0.6 ACH. Recalculating the results for our own house would give 6.4 ACH or about ten times the PassivHaus level. It’s interesting to know but academic as our house was never designed as a PassivHaus. Had it been then the price tag would have risen significantly!
Other Uses of Pressure Testing
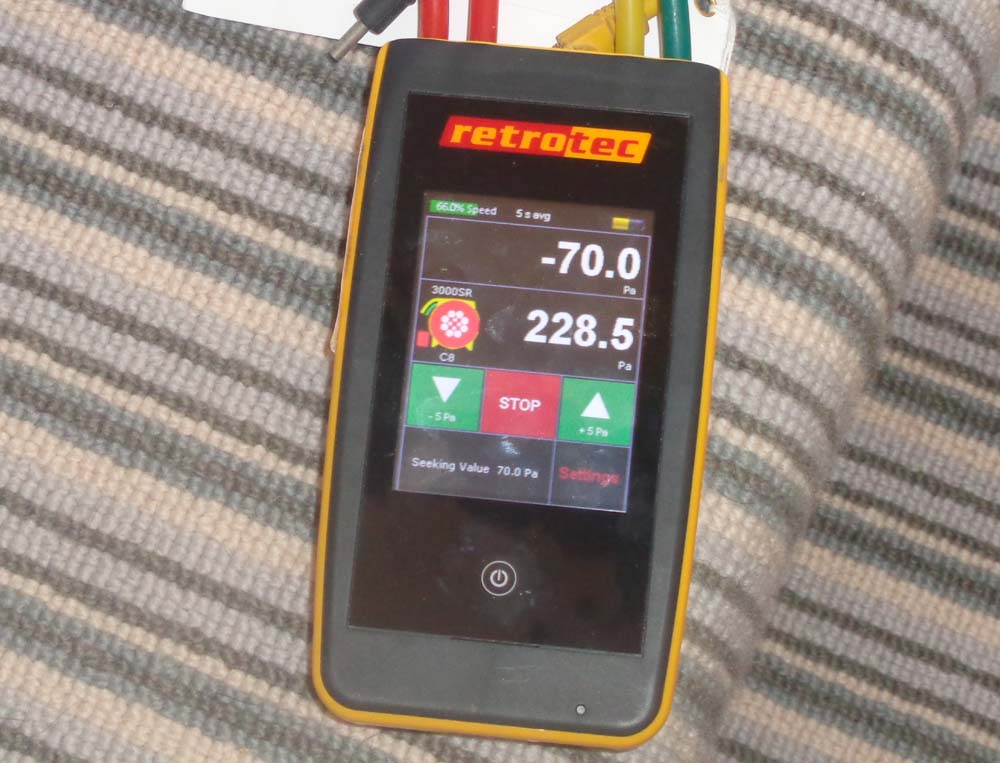
A more useful way to help diagnose any potential issues was to crank the fan up to its maximum (70 Pa was used) and then take IR photography of the house interior. The pressure difference helped amplify any cold spots in the inside part of the exterior walls. Areas where dot and dab plaster touched the plasterboard were very clear, as there were cold spots around them.
Conclusion From Testing
The conclusion was that air movement behind the plasterboard was the main cause of the thermal discomfort we experienced and that if this was addressed and the radiator in the lounge resited then the problem could be resolved.
The Work Is Carried Out
The builder gave the project to one of their up and coming construction managers, who threw themselves into the project with enthusiasm and diligence. Before we knew it we had a small team of tradesman working to a clear action plan. The plan was to remove the dot and dab plasterboard on the lounge external walls and replace it with wet plaster.
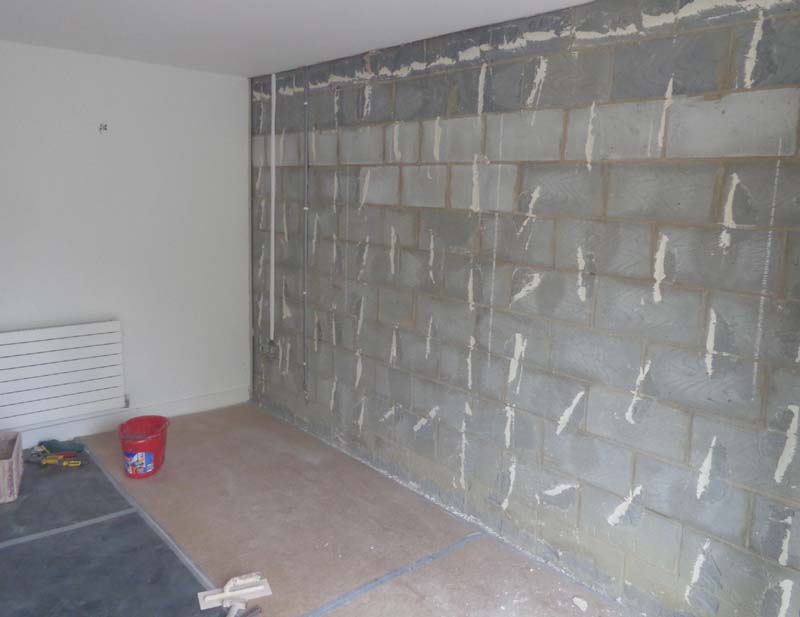
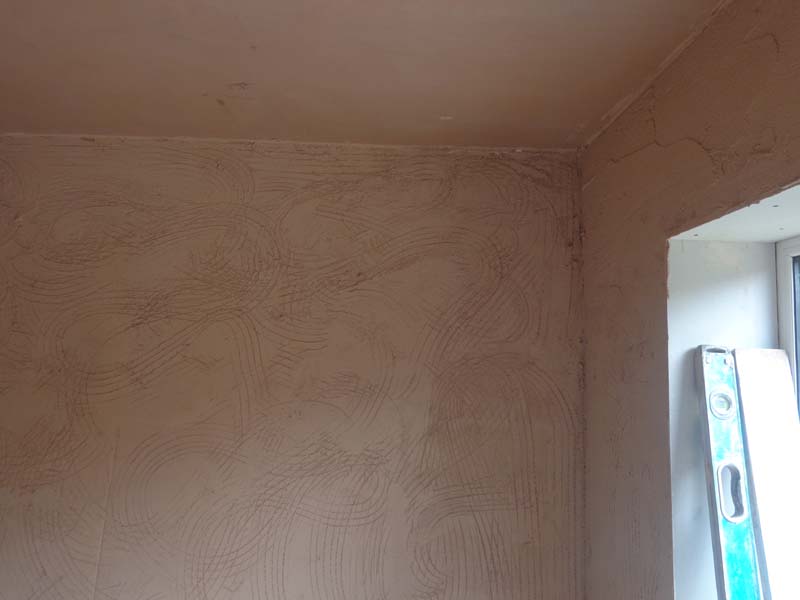
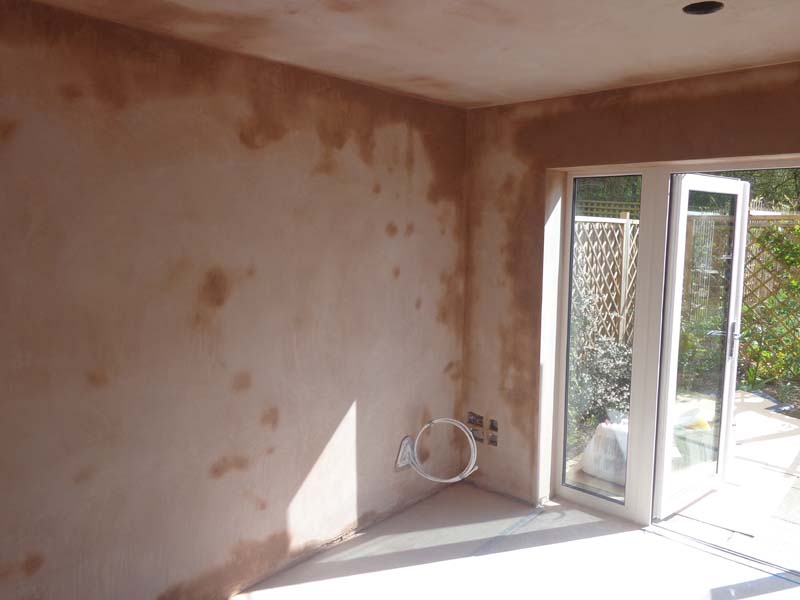
The white pipe in the corner is ready for the radiator in its new position
The lounge was straightforward to do, although we did need to get the wood floor installers back in to add a small amount to cover the difference in thickness between the dot and dab plasterboard and the wet plaster wall solution.
Whilst it was not a key issue for us, the builder also offered to address some cold spots in the utility room. This room has the fuse board for the electrics as well as the gas boiler, so wet plastering was unrealistic without creating a huge amount of work. Some of our neighbours have even cut cat flaps in the external utility room door anyway so we didn’t feel inclined to be pedantic about achieving “perfection”.
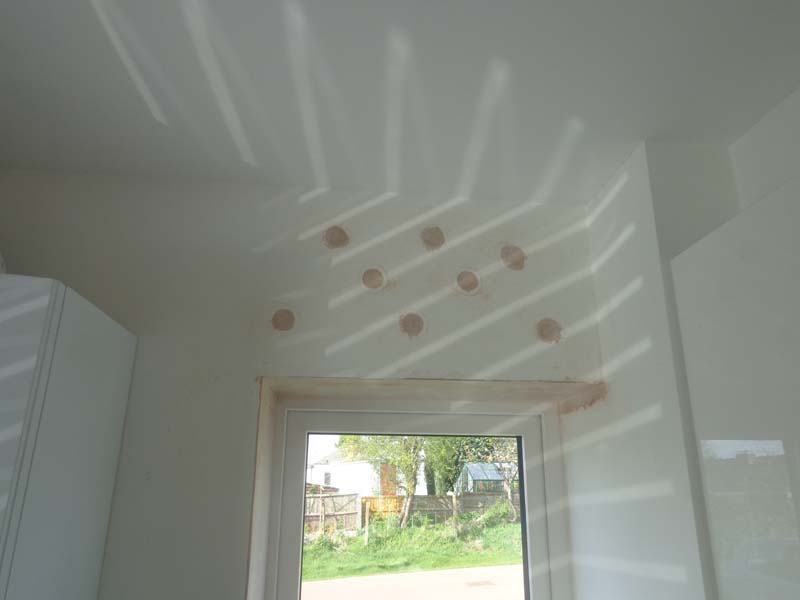
In the end we opted for using a hole saw to cut access holes in accessible areas and then the air gaps around the dot and dab plaster were then filled with low index sealant. This would certainly reduce the air flow behind the plasterboard, without huge disruption.
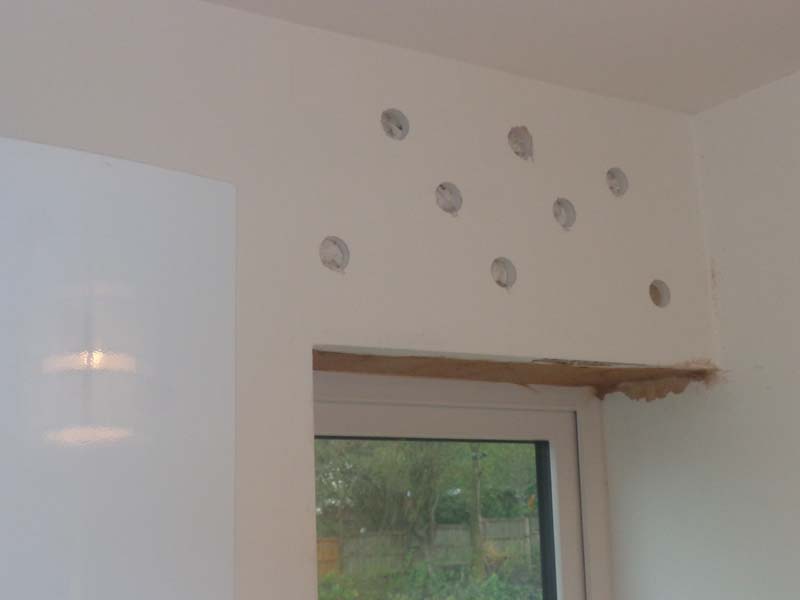
Once the holes were filled it was a quick job for the skilled plasterers to put a skim coat over the holes and then the wall was rubbed down and painted.
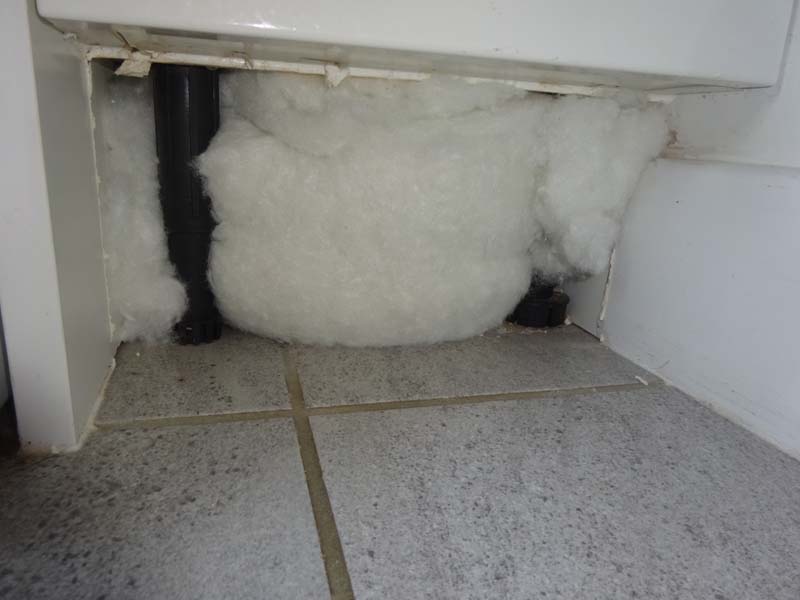
This work inspired us to address a slightly cold draught that had always been present under the units in the utility room, where the vertical soil pipe heads upstairs. This area also has a collection of grey water pipes and electrics. The installation of services (gas, electrics, water/waste and telephone/cable) using current practices often results in holes in the building fabric through which warmer air is lost.
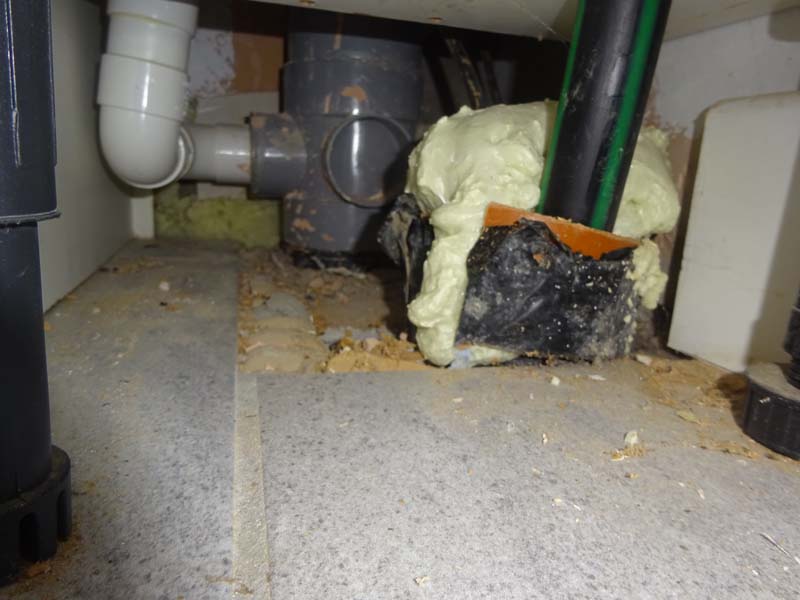
Putting insulation under the utility room units stopped the vertical airflow.
What Difference Did The Work Make?
It was April 2017 by the time the work was complete. We had to wait until the autumn/winter period to confirm whether we had solved the key problem. However, we did begin to notice in the summer that the lounge did not get as hot as in previous years. With a south facing lounge with good insulation the room heats up fast in the sun. By wet plastering the external walls we had created a much bigger thermal mass, which absorb a greater level of heat than previously, keeping the air temperature lower. This was an added bonus to the work.
Winter arrived and our lounge was a pleasant and stable temperature. No discomfort. Job done!
We wrote to the builders, thanking them for taking our problems seriously and for addressing them. They could well have tried to hide behind the “meets building regulations” argument used by many housebuilders but to their credit they did not. They should be applauded for that. As far as we were concerned the issue was closed.
What Have We Learned?
Quite a lot…as the three parts of this blog have demonstrated. During this time, I also completed a Masters in Energy & Sustainable Development at DeMontfort University. This gave me the technical background and confidence to explore many of the issues; otherwise I might have decided to take the traditional approach and just put another radiator in the lounge. The four-bedroom versions of our house do have two radiators in the lounge and none of our neighbours living in the four bedroom houses report the same issue. They did however benefit from the builder undertaking work across our estate to insulate the MVHR systems in all lofts and sealing under all the external doors. These remedial actions will have improved the energy performance and comfort levels of all the homes.
What the experience had demonstrated is there are limits to the energy performance of homes, if builders stick to their historical build methods and Building Regulations are focused on measuring how a building should perform at design stage rather than how it actually performs when built. For an already built home this can be considered an academic exercise as it is unlikely to improve occupant comfort and, due to the disruption to decoration, would not deliver a financial return.
We now have a very comfortable home with good energy performance. Despite that, I do still ponder how the energy performance of modern homes can be improved.
Dry Lining Versus Wet Plastering
On a new build I would certainly like house-builders to consider whether dot and dab plasterboard (dry lining) is the best approach for external walls. Most house-builders us this method but it has two key flaws:
- Air can circulate behind the plasterboard unless a parge coat is used to stop air leakage through the blockwork used for the inner leaf of the external wall.
- A parge coat is a method of sealing blockwork prior to drylining. A continuous 6mm thick plaster coat is used to cover incomplete mortar joints, cracks or air passing through the permeable block. Any air passing through the wall will take heat energy with it, reducing the thermal efficiency of the wall.
- The plasterboard is not fully connected thermally to the blockwork, meaning the thermal mass of the room is much lower. This means the room will heat up much quicker in summer, creating higher air temperatures. In the winter it will cool down quicker.
Wet plaster solutions, rather than dry lining with plasterboard would be my preferred solution to solve the problems above. Builders don’t like it as wet plastering requires more skill than dry lining (extra build cost), there are time delays as the plaster has to dry out (extra build time) and running electrical and heating services can be slightly harder (extra build cost). Using a parge coat on all external walls with dry lining would stop the air permeability but does not address the thermal mass issue. As we continue to improve insulation levels then unless the thermal mass issue is addressed then the problem of summer overheat in homes will simply get worse, especially given the climate change risk.
Upgrading Skills In The Building Workforce
House builders also need to ensure that the skills of the work force are upgraded to cope with improved practice, such as installing MVHR systems to the correct standard. Our house-builder runs a professional outfit and were very helpful when specific issues were pointed out, although they struggled to identify them at first. It’s fair to say when our home was built, they were on a steep learning curve on the newer technology used and on the demands of achieving high standards of airtightness. In my view they gained experience building each home in the development, with the ones completed more latterly to a slightly higher standard as tradesmen got more familiar with new ways of working.
Heating Controls For Energy Efficient Homes
As the energy performance of homes improves then the traditional way of controlling central heating systems, using a thermostat in each zone, becomes less useful. Our downstairs zone is set to 21C and our upstairs zone to 19C as, like most people, we prefer a cooler temperature for sleeping. This creates some practical problems. We had to get the heating engineer to switch the towel rails in the two bathrooms from the upstairs circuit to the downstairs one. This was because the upstairs heating zone never came on, unless the temperature was below zero outside, as air rising from downstairs was enough to keep upstairs warm enough. That was great except that we wanted warm towels! Thermostats are usually sited in the coldest/draughtiest location, often in the hall near the front door. When you don’t have such a location then a central thermostat becomes a bit hit and miss; even having a few people in one location can raise the temperature due to the body heat they give off. Having temperature control in each room becomes more attractive here; I am not talking about Thermostatic Radiator Valves here.
What Next?
Our house is great to live in. That doesn’t stop me, out of academic interest, from wondering whether other small improvements could be made. Currently I do have plans to try the same technique used to address the utility room on our under-stairs cupboard, which can be slightly on the chilly side (not that I spend much time in there). This could be a double-edged sword though, as it is nice to have somewhere in the house that is slightly cooler to store wine!
In the meantime, my attention has turned to the use of hydrogen to help decarbonise the gas network and as a fuel for Heavy Goods Vehicles. More of that in future blogs.
This is a terrific and valuable resource for anyone looking into why their lovely new windows and doors don’t appear to be keeping the heat in the house, and why the associated constant nagging ear noise is causing pain to accompany the discomfort from rooms that are not as warm as they should be. Too often I’ve blamed the lack of efficiency in our air source heating system, instead of looking at the source of heat losses.
As someone now considering taking on a self build with timber frame and MVHR, it also reminds me to make sure these issues are addressed during construction, and not to try and find/sort them afterwards.
PS
If you’ve finished with your thermal camera, would you sell it cheaply on to me? £600 is a lot of dosh!
We found a cheaper thermal camera that connects to any mobile phone with an app. Just as efficient to find the cold spots.
Hi, yet another who stumbled onto your blog during an attempt to sort out draughty patio doors. A thoroughly enlightening read, thank you!
Yes I’m here too after a Google search on cold French doors. Following a similar trajectory I have already bought a thermometer and have just ordered a thermal imaging camera. Hopefully I can sort out cold room issues too.
Like Richard, I also stumbled onto your blog today (30/03/2020) for similar reasons. except I don’t have French doors (yet).
I like in Alberta Canada where temperatures regularly drop to -20, -30 or lower during winter. And winters are long here!
Anyway, cold draughts inside our 1992 house cost us A LOT, our energy bills are so high. And working from home in the coldest room in our basement made me start looking into thermal leak detectors to try to identify and fix the multiple problems we surely have. And that’s how I found your blog.
After reading all 3 parts of your blog, I get the feeling that buying a thermal leak detector might help with identifying the origin of some draughts but I need to brace myself for a long and painful investigation.
If you have any tips or recommendations on getting started and/or what you would do differently now that you’ve gone through the whole 4 or 5 years of investigation, please share!
Thanks again for sharing your experience, this was a very interesting read!
Another concern with the dot and dab approach is that the cavity behind the plasterboard allows smoke to travel freely around the property in the event of a fire – failing building regs approved document b – fire safety. House builders know this but fail to address it.
Stumbled on to your blog today (10/2/2020) after a google search for draught proofing my French doors. now, almost 30 minutes later (couple of distractions whilst working from home) I’m wandering around the house using a perfectly calibrated wet finger checking doors, windows and walls (dot dab plasterboard on exterior walls).
Great series and has given me a few ideas, Wife may not like them but she’ll like the warmth afterwards.
Thanks Jon
Regards
Richard